
What follows is the result of a crazy desire to have a wood-burning stove in my home.
In the beginning I ran into prefabricated wood-burning ovens from home but, being a professional in the industry and very demanding, I thought I'd take one of professional quality. Clearly the budget was not much and, therefore, the talent has led me to design a totally self-made.
So I started to study, informing me in various forums on the internet such as the best materials to have a good product and professional at the same time economic.
Let's start with the unloading of the materials needed.

Materials used:
230 refractory bricks type clear;
30 concrete Blocks width 12cm;
21 concrete blocks bundle (type gasbeton);
100 kg of cement refractory;
100 kg of cement type, 325;
1/2 meter of sand mixed gravel;
10 square meters of ceramic fibre;
10 square meters of rock wool with aluminum;
But now, no more talking and let's see step-by-step stages of the construction.
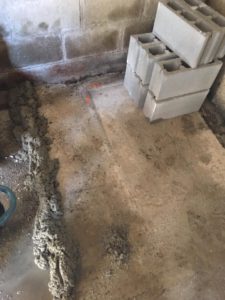
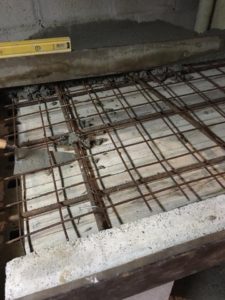
I had already prepared last year and with a bit of foundation consisting of a gettatina army of 10 cm and the larger of the width of the walls on the perimeter, so you can immediately pull up the shoulders on which we are going to put the base of the oven.
The measurements are 135 cm x 135 cm and I left a small access for any storage of the wood.
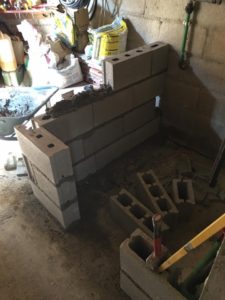
Prepare the base of the furnace, whereas the standard height is 90 cm, but this varies depending on their personal needs.
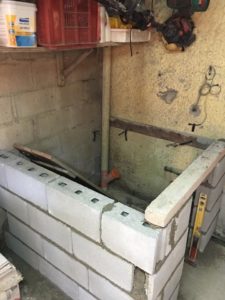
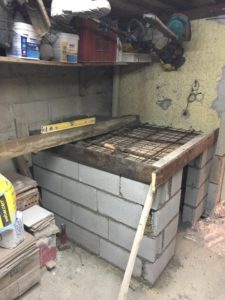
We now blocks cement fiber made cross-and not glued on the concrete base. This type of brick are excellent thermal insulation and load-bearing.
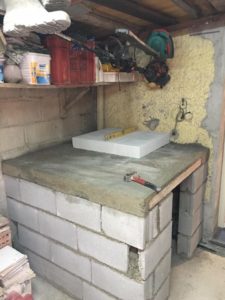
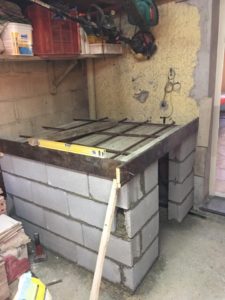
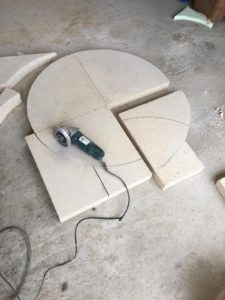
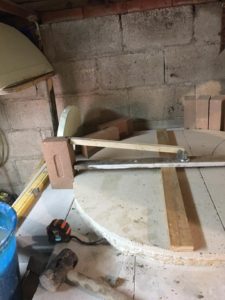
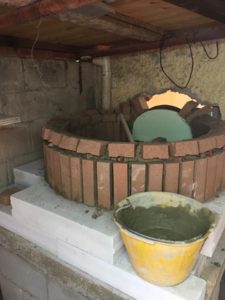
We hold to the basic refractory pre-cut according to the internal diameter of the furnace, which in my case is 90 cm.
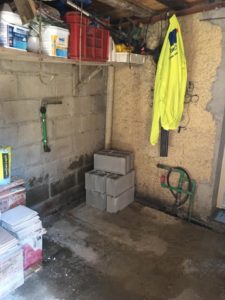
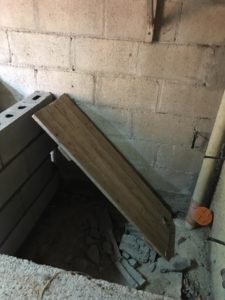
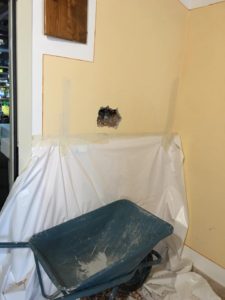
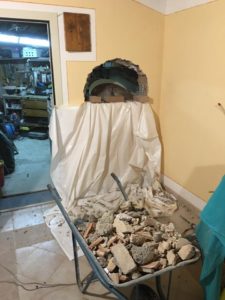
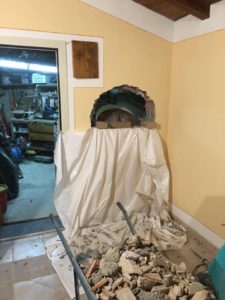
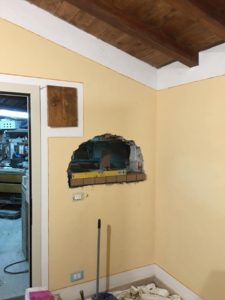
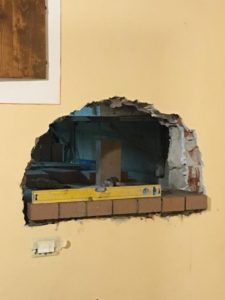
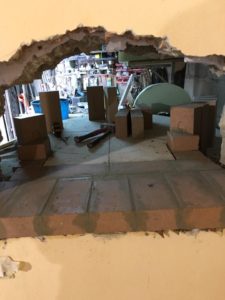
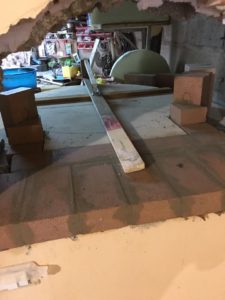
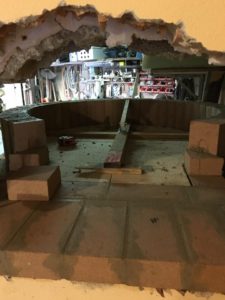
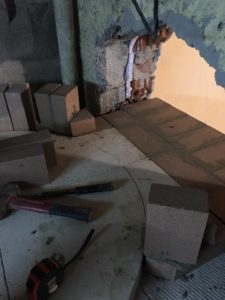
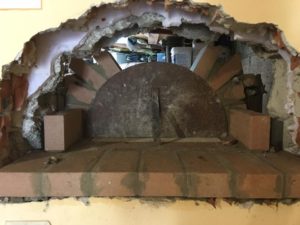
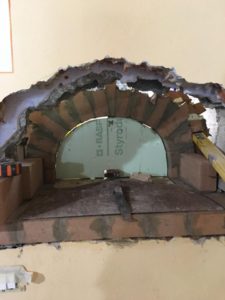
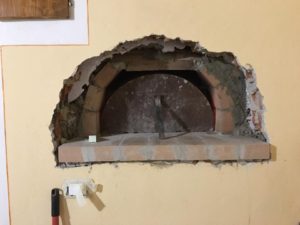
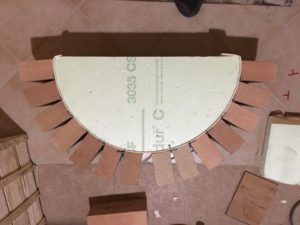
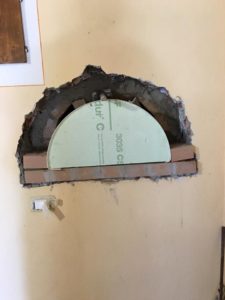
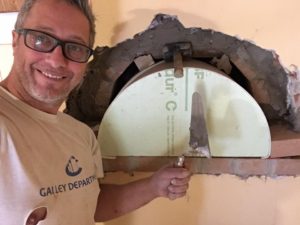
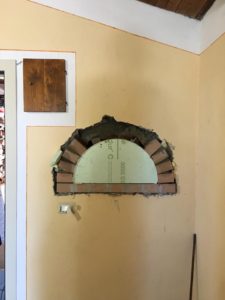
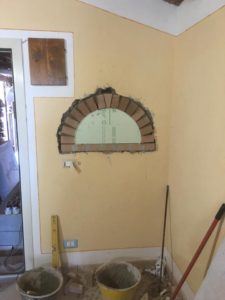
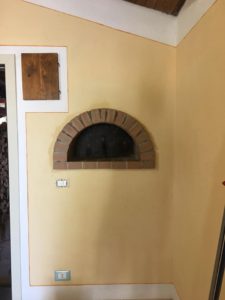
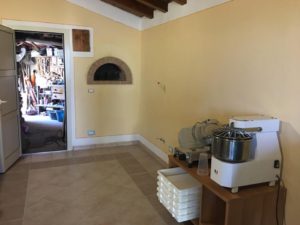
I made a hole in the wall connecting in my garage where I'm going to install to mount the mouth of the oven!
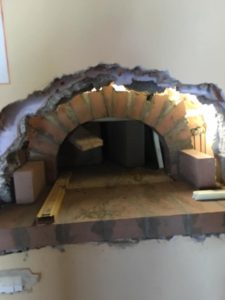
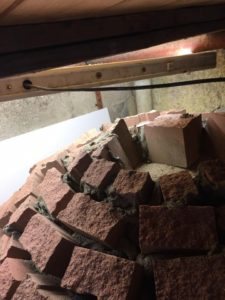
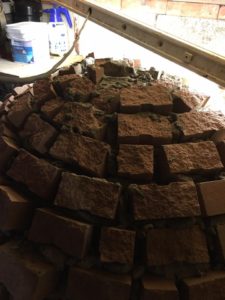
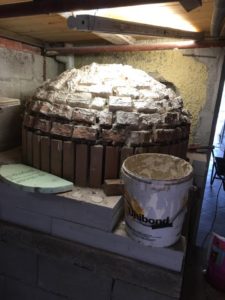
Once you have positioned the plan refractory began the construction of the oven by laying the first bricks of “cutting in the foot”. To be sure that the pose is perfectly circular, I am, self-made a “template” that will help me to place every single brick around the floor and refractory, and all subsequent overlapping as images.

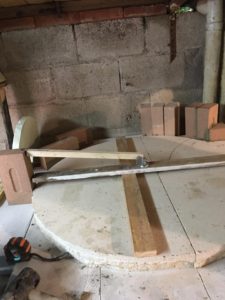
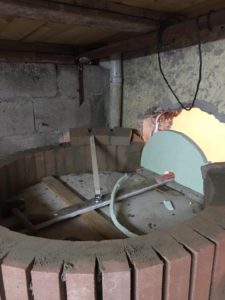
Brick by brick, using just the right amount of mortar, refractory, we continue to embed the refractory bricks with the aid of the “dima” was previously built.
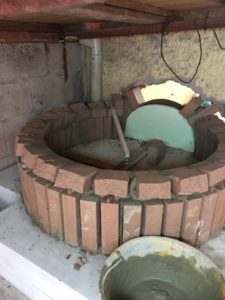
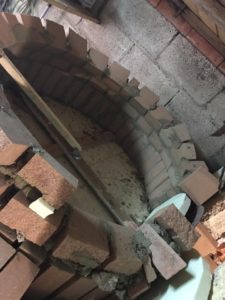

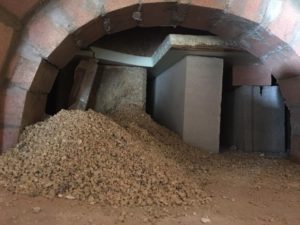
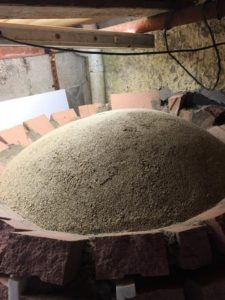
Arrived at a certain point, to create the upper volta I had to put a floor on the inside of the oven and laid in the sand pressed into the form of a dome on which to place the accomplishments of bricks.
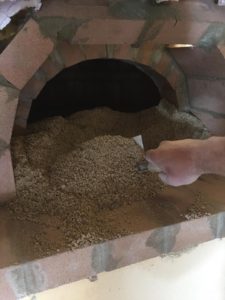
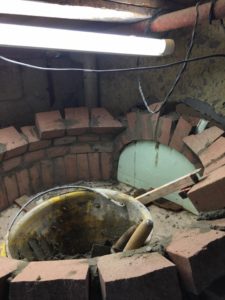
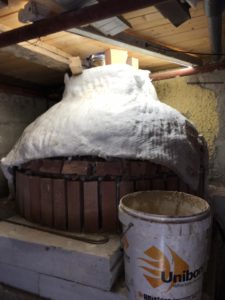
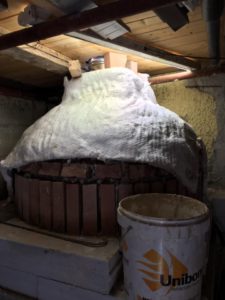
once closed, all I waited for everything to dry and then removed everything from the inside of the oven. I fill in all the gaps between the bricks with mortar, refractory, and wrap with the first state of the ceramic fiber. and two layers of rock wool with aluminum.
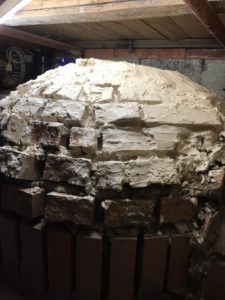
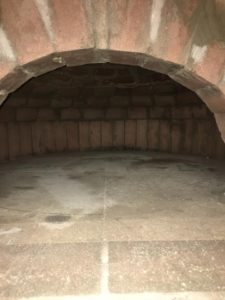
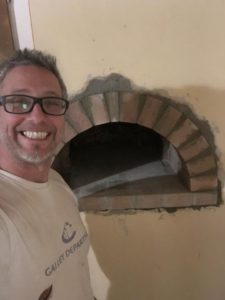
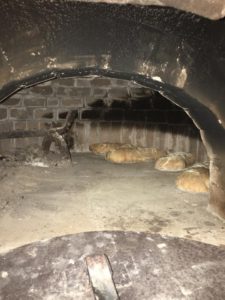
Here is how it looks internally once you have removed everything.
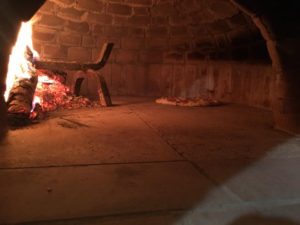
Beginning with the arrangement of the deviation of the chimney for the flue gas and is first switched on.
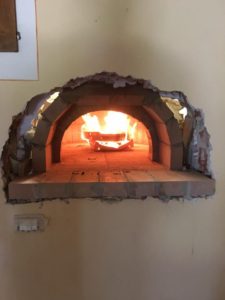
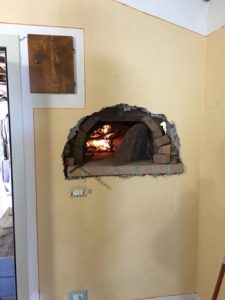
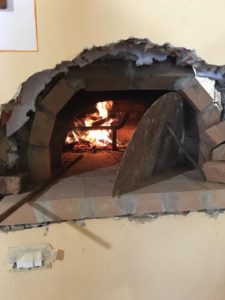
The first test for the time to the front inside the garage, and the beginning of the assembly.

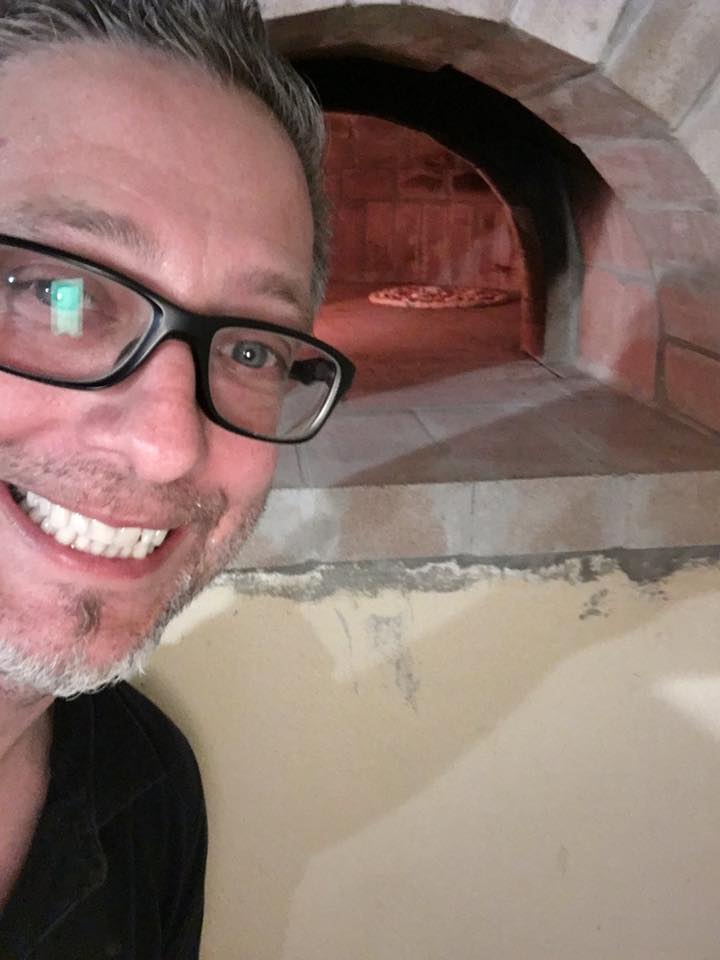
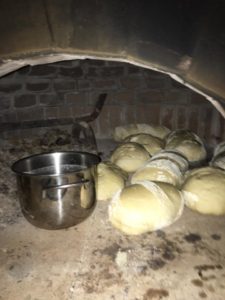
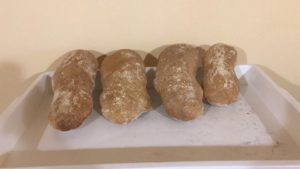
... and after 4 days of continuous fire progressive comes the day the most beautiful... THE FIRST PIZZA !!!! ... and not only....

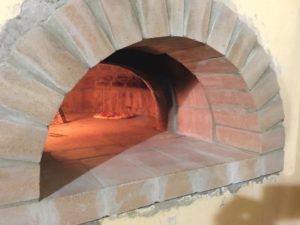
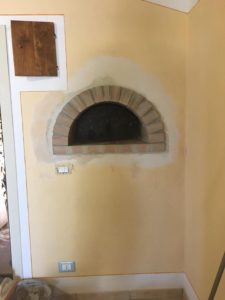
A beautiful filling and repainted and here is the final result!
I hope I was helpful for those like me who will want to diy a wood stove in your home.